

Google Sheets
Import rows from a Google Sheets spreadsheet into Coyote on a schedule or on demand. Use this for producer statements, ticket lists, partner/product master data, or any tabular source that lives in Sheets.
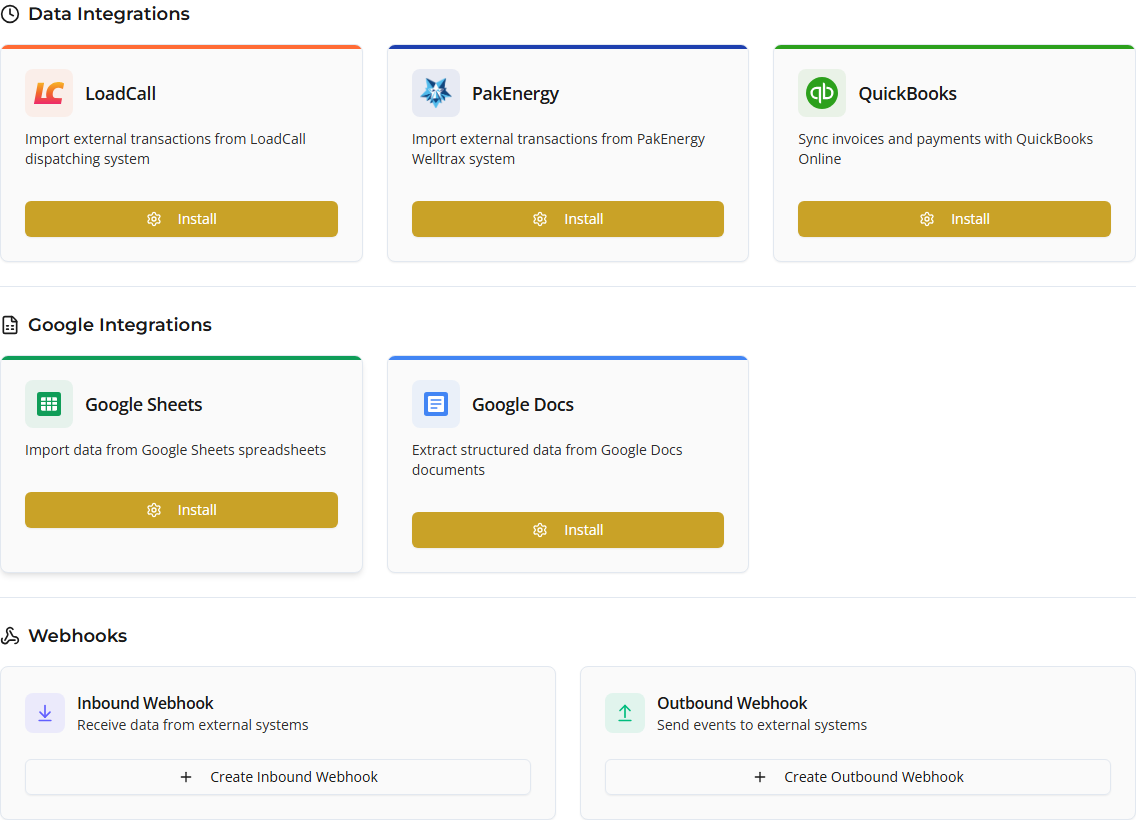
Google Sheets is part of Google Integrations on the Integrations page (sidebar → Integrations).
What it does
Coyote reads a configured spreadsheet tab and creates or updates records based on target entity and field mappings:
| Target entity | Typical use |
|---|---|
| Transaction | Truck loads / tickets as live transactions |
| External Ticket | Staging tickets for reconciliation |
| Partner | Shipper or carrier master data |
| Product | Product catalog rows |
The integration supports:
- Scheduled polling (cron) — automatic imports on a interval you choose
- Manual import — run from the integration card
- Test connection — preview rows before enabling
Before you start
- A Google Sheet with a header row and data rows
- Column headers that can be mapped to Coyote fields (via built-in or custom templates)
- For private sheets: permission to sign in with Google and access the spreadsheet
- For public sheets: the sheet must be published or shared so Coyote can read it without OAuth
Your organization must have Google OAuth configured by an administrator. If the app shows “Google OAuth is not configured,” contact your admin before using private mode.
Step 1 — Open Integrations
- Go to Integrations in the sidebar.
- Open the Browse tab.
- Under Google Integrations, find Google Sheets.
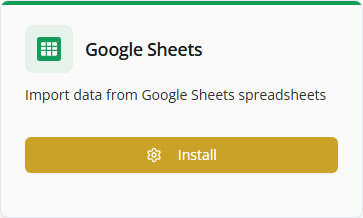
- Click Install (you can install multiple Google Sheets integrations for different spreadsheets).
Step 2 — Configuration tab
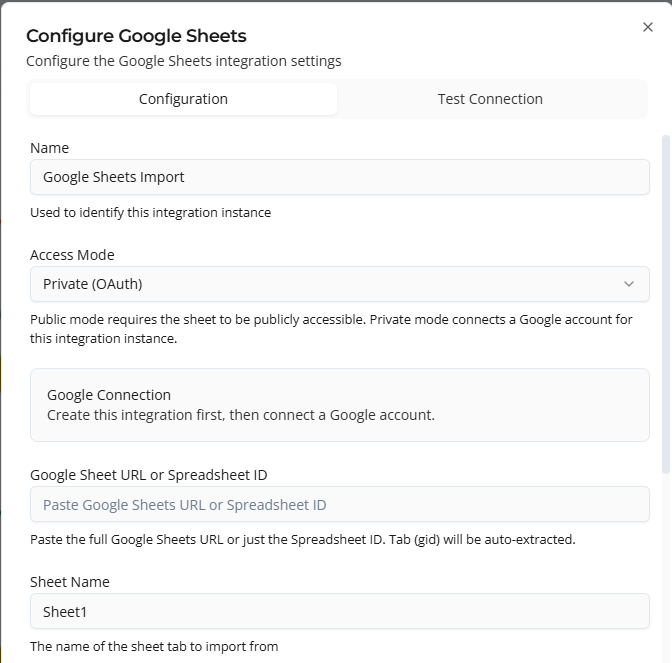
The Configure Google Sheets dialog opens with Configuration and Test Connection tabs.
Basic settings
| Field | Description |
|---|---|
| Name | Label for this integration (for example Producer Statement Import) |
| Access mode | Public — spreadsheet ID / URL only. Private — requires Google OAuth sign-in |
| Spreadsheet ID or URL | Paste the full Google Sheets URL or just the spreadsheet ID. Tab gid is extracted automatically from the URL when present |
| Sheet name | Required for private mode (for example Sheet1) |
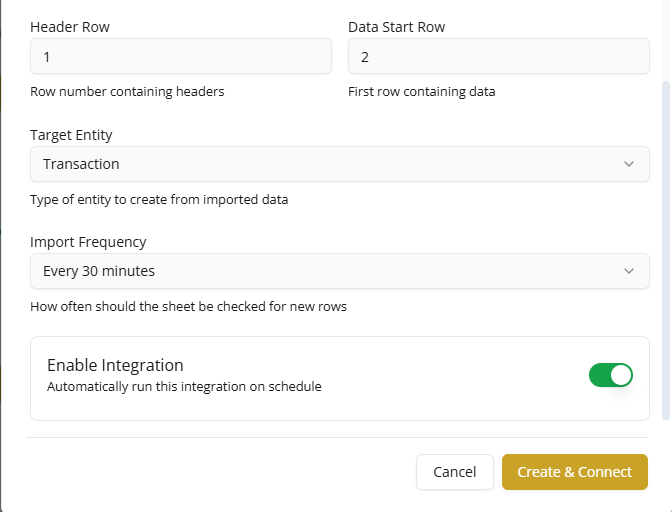
| Header row | Row number containing column titles (default: 1) |
| Data start row | First data row after headers (default: 2) |
| Target entity | Transaction, External Ticket, Partner, or Product |
| Schedule | Cron expression for automatic imports (for example hourly) |
| Enabled | Turn scheduled imports on or off |
Private mode (OAuth)
Use Private (OAuth) when the sheet is in your Google Drive and not published publicly.
- In Configuration tab, fill the data as per above guidelines.
- Choose you account for Google Connection and click continue
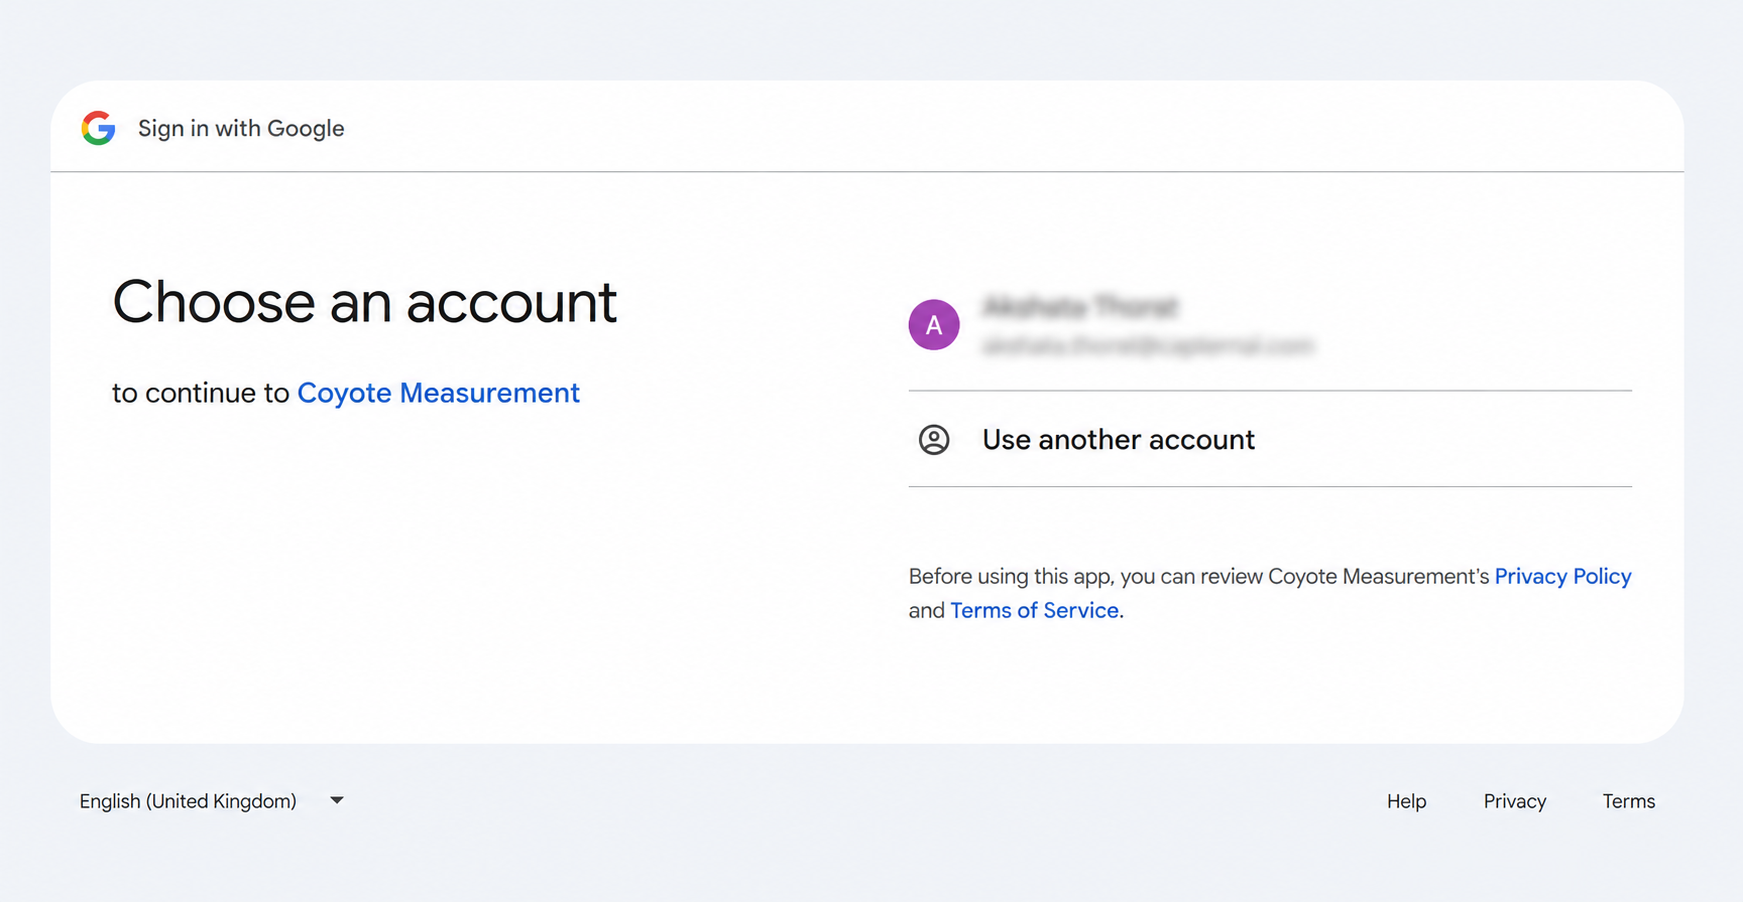
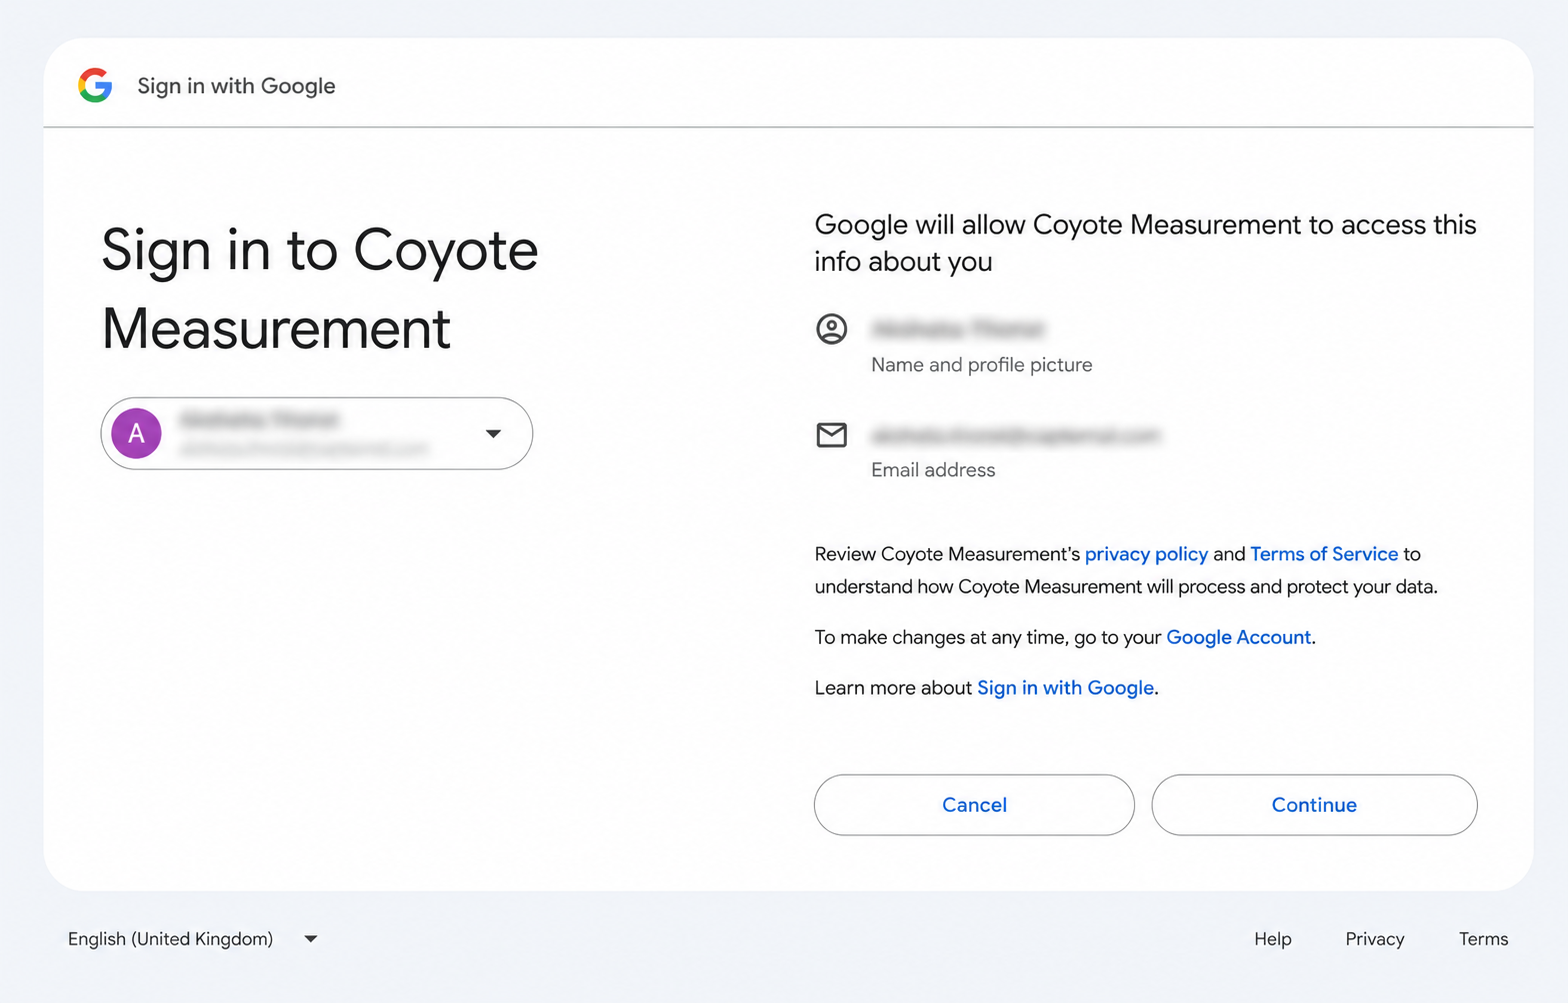
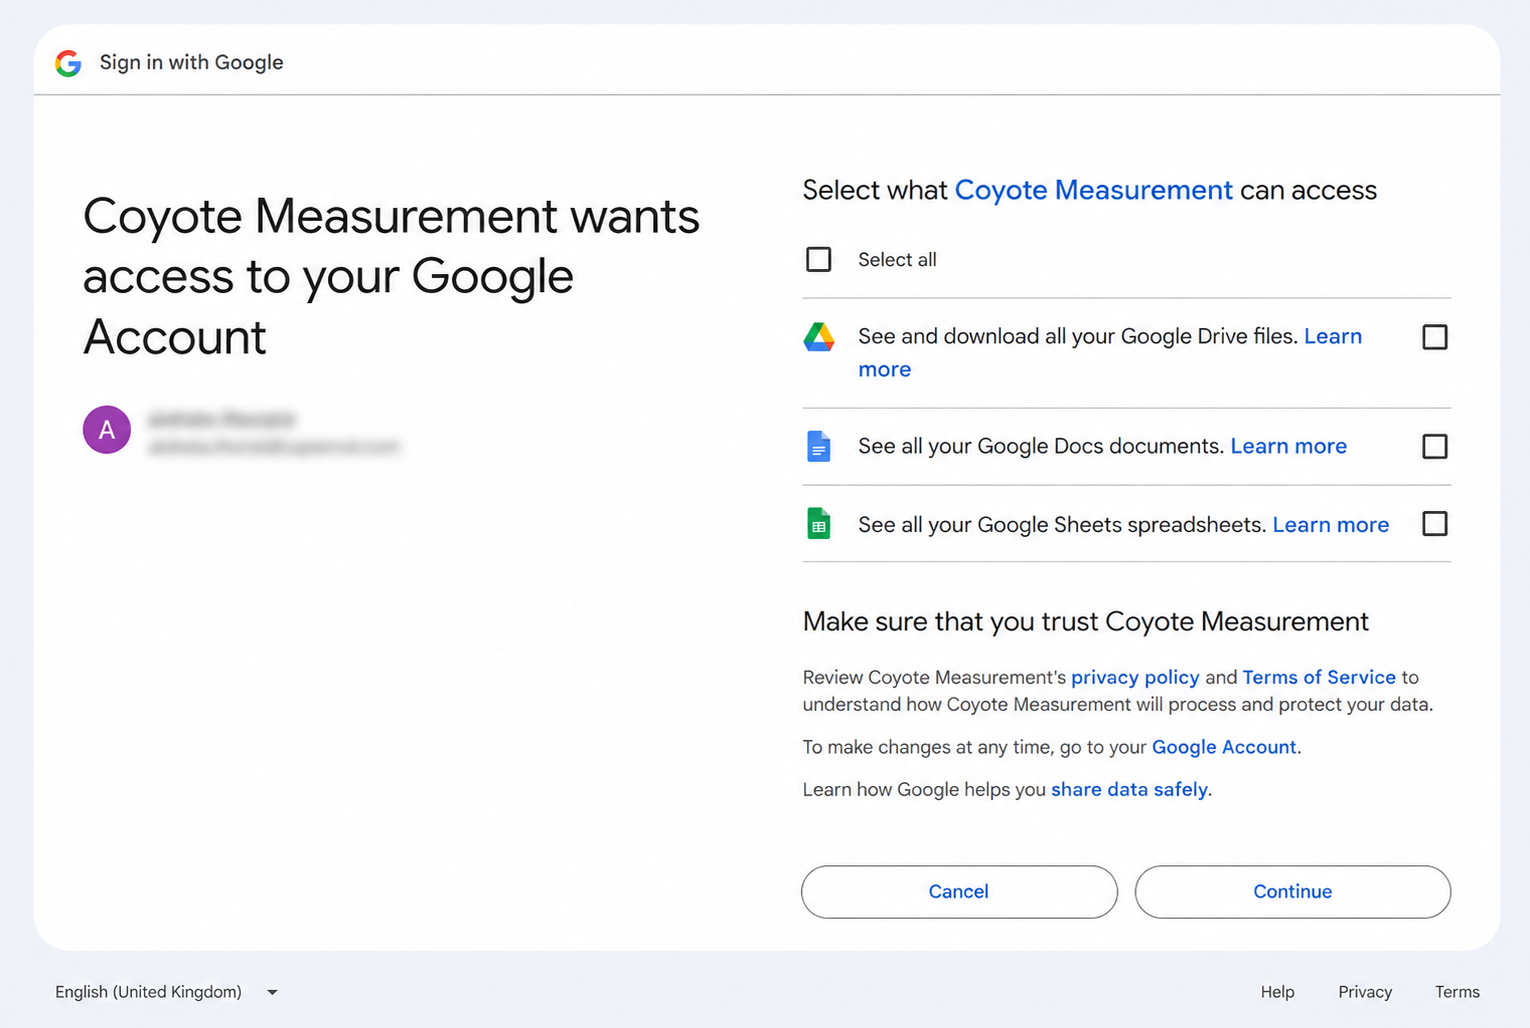
- Integration added successfully.
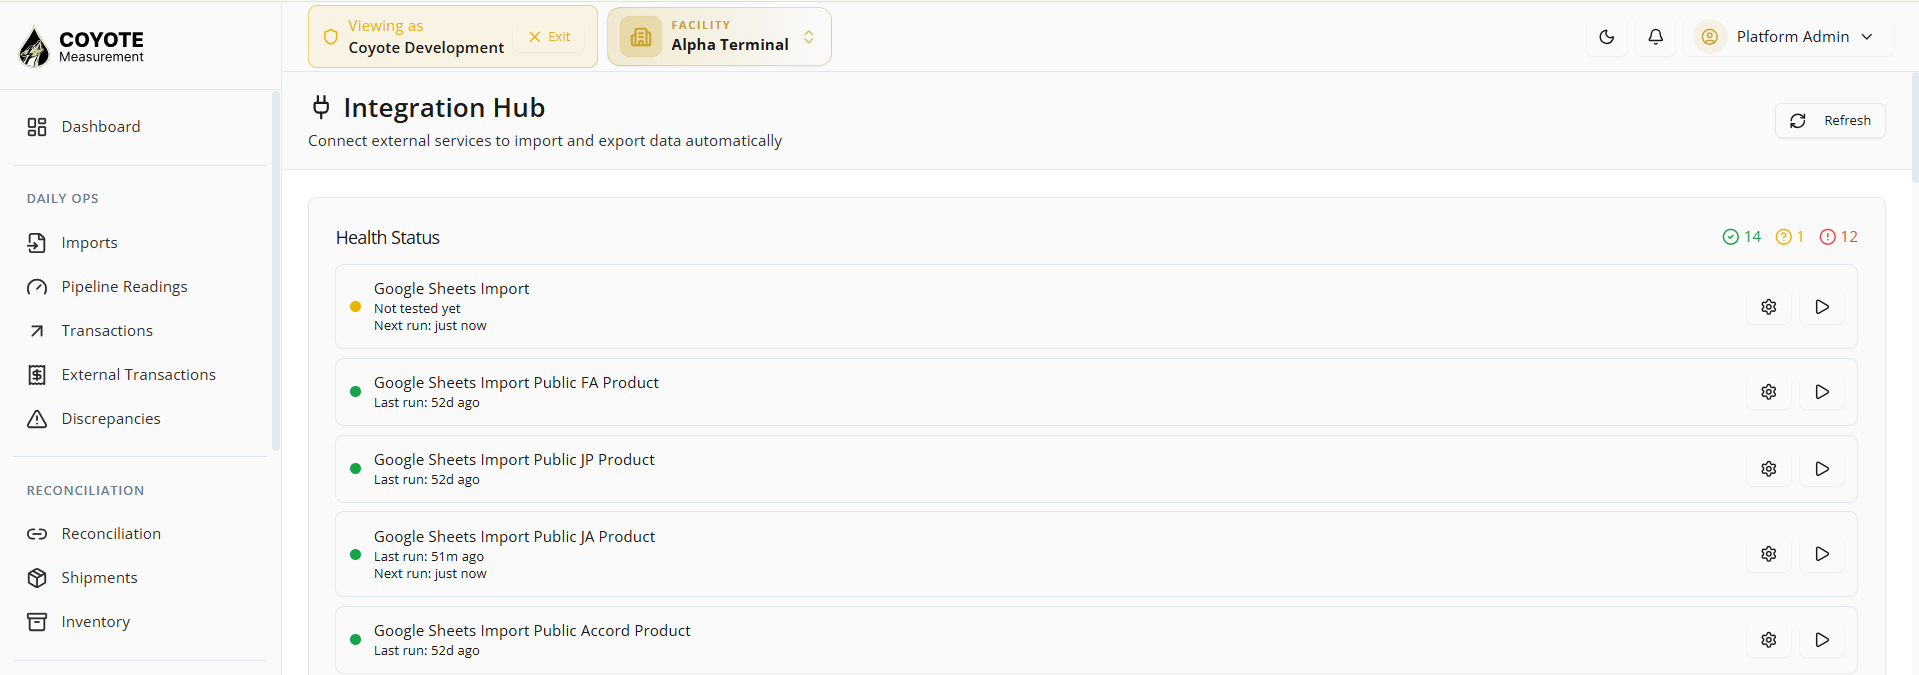
- Click on setting Icon and check connection status and update fields if needed.
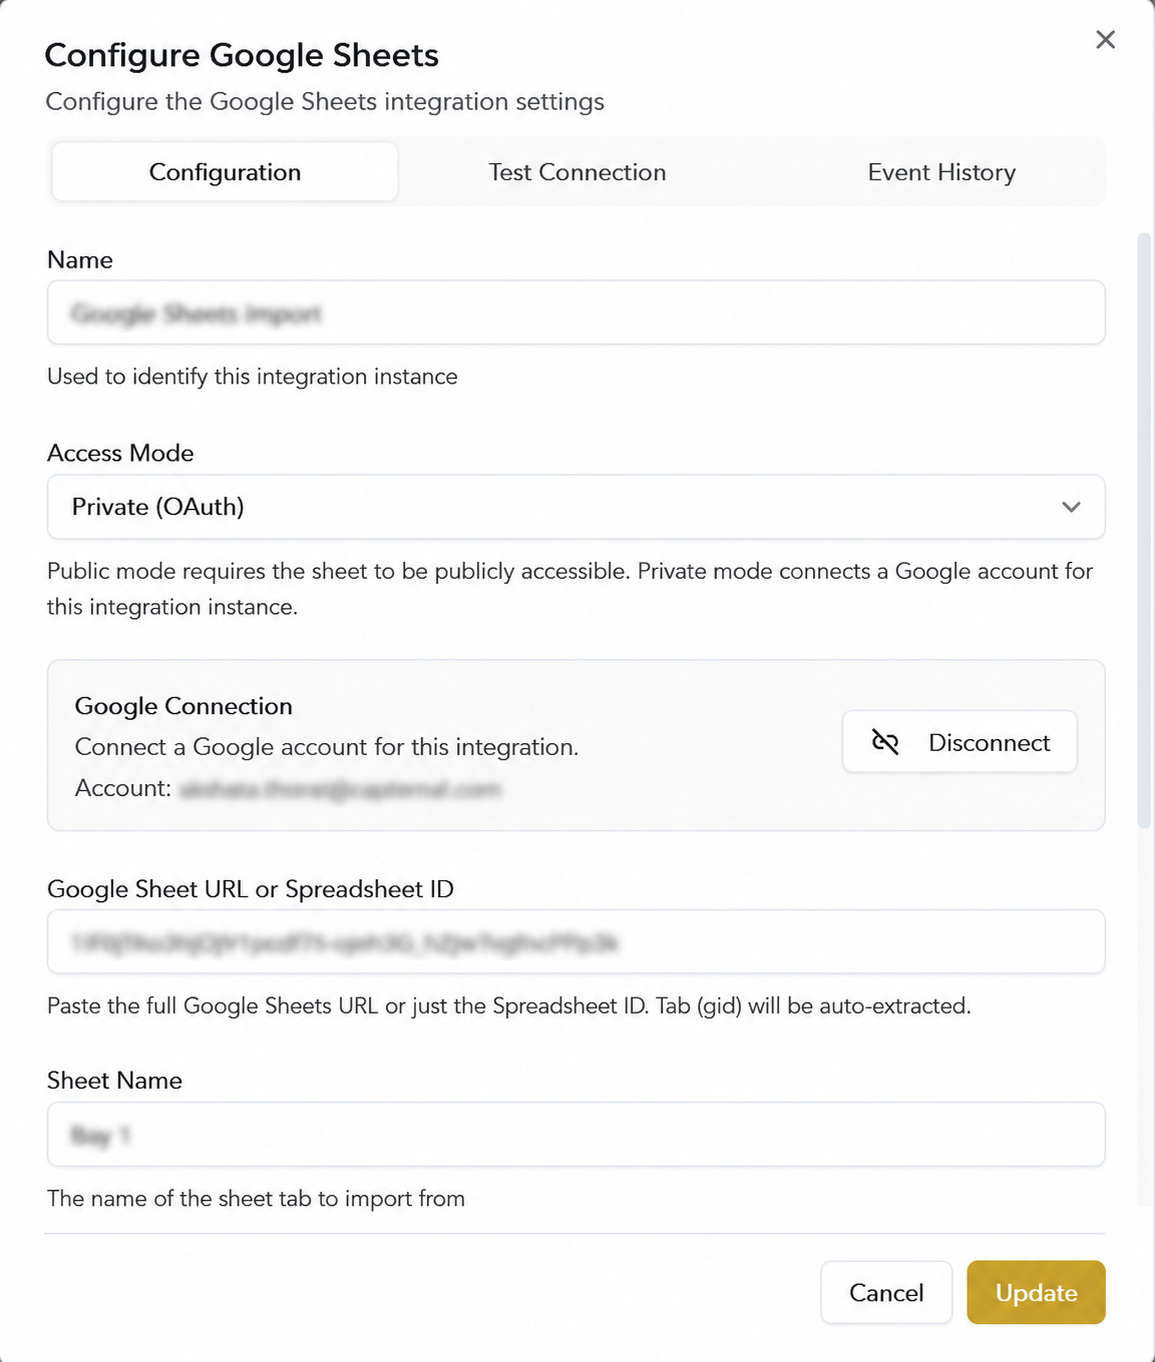
For private integrations:
- Fill in name, spreadsheet URL, and sheet name.
- Click Create & Connect.
- Complete Connect Google when prompted.
- Confirm Connected status on the configuration form before testing.
Public mode
Use Public (no auth) when the sheet is published to the web or otherwise readable without signing in.
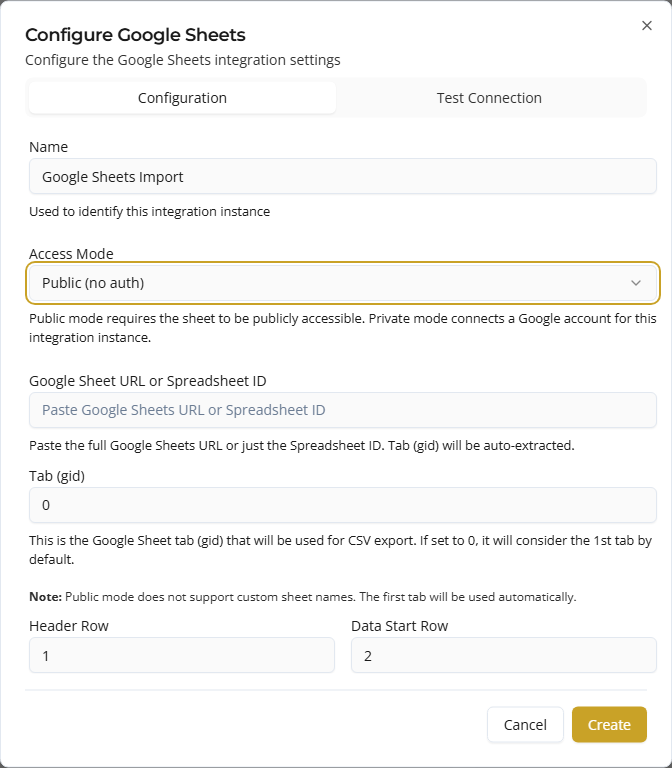
| Mode | When to use |
|---|---|
| Public | Sheet is published to the web or accessible without login. No Google account connection in Coyote |
| Private | Sheet is in your Google Drive. After saving, Coyote redirects you to Connect Google to authorize read access |
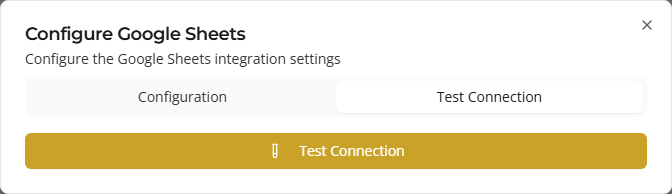
Step 3 — Test tab
- Open the Test Connection tab in the configure dialog.
- Click Test Connection.
- Review the preview — sample rows and column detection, or an error message if the sheet cannot be read.
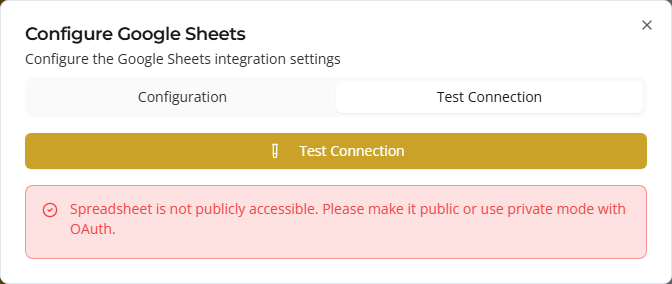
Error message seen if any error.
Success message after successful test connection.
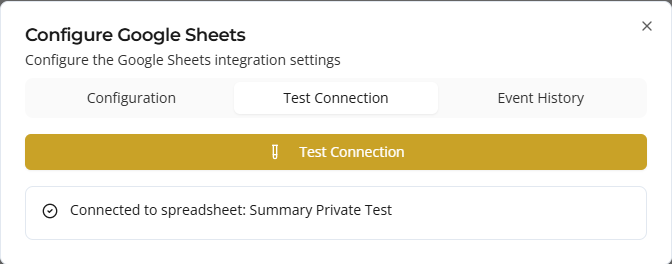
Resolve all test errors before enabling the schedule. Common failures include a sheet that is not public (when using public mode) or an incorrect sheet name (private mode).
Step 4 — Save and enable
- Return to the Configuration tab.
- Click Create (public) or Create & Connect (private).
- Set Enable Integration if you want scheduled imports.
- After saving, the integration appears on the Installed tab.
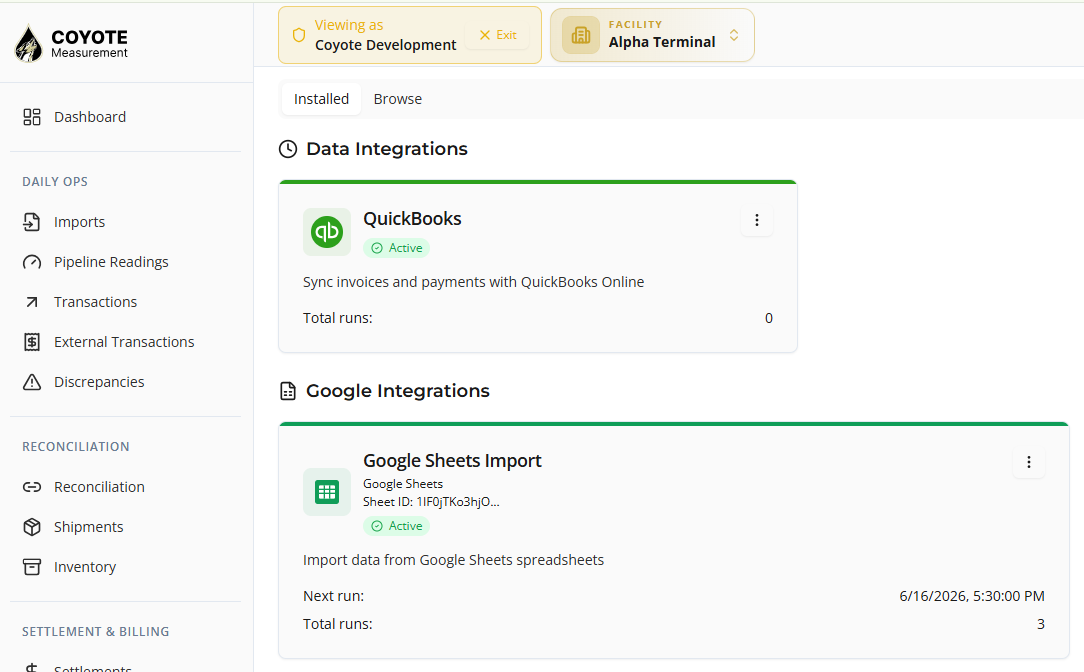
From the Installed tab you can Configure, Run Now, Pause, or Enable each Google Sheets instance.
Step 5 — Review run history
For an existing integration, open Configure from the card menu and select the Event History tab to see:
- Success and failure counts
- Last run time
- Error messages for failed rows
Imported transactions appear under Transactions. External tickets appear under External Transactions.
Multiple spreadsheets
You can install more than one Google Sheets integration — for example one sheet per producer or one for partners and one for tickets. Each install has its own spreadsheet ID, target entity, and schedule.
Tips
- Paste the full Sheets URL from the browser — Coyote extracts
spreadsheetIdandgid(tab id) automatically. - Keep header names stable; changing column titles may break field mappings.
- Use Test Connection after any spreadsheet structural change.
- For large sheets, start with a small test tab before pointing at production data.
Troubleshooting
| Issue | Fix |
|---|---|
| Test returns no rows | Check header row, data start row, sheet name (private), and gid/tab |
| Spreadsheet not publicly accessible | Publish the sheet or switch to Private (OAuth) mode |
| OAuth not configured | Admin must set up Google OAuth for the environment |
| Permission denied (private) | Reconnect Google; ensure the signed-in account can open the sheet |
| Wrong entity created | Verify Target entity and field mapping template |
| Duplicate records | Review unique key / mapping rules for your template |
Related topics
- Integrations overview — all integration types
- Google Docs — preview status and current limitations
- Managing Imports — terminal TransLog imports (separate from Sheets)