

Account Setup
Your Coyote Measurement account is created by an administrator who invites you by email. This guide walks through accepting that invitation, signing in, and confirming you have the access you need.
Before you start
Make sure you have:
- The invitation email sent to the address your admin registered
- A supported web browser (current Chrome, Edge, Firefox, or Safari)
- The name of the organization you were invited to join, if you have access to more than one organization
If you never received an email, ask your administrator to confirm the address on file or resend the invitation.
Step 1 — Accept your invitation
- Open the invitation email from Coyote Measurement.
- Click Set Up Your Account (or copy the link if the button does not work).
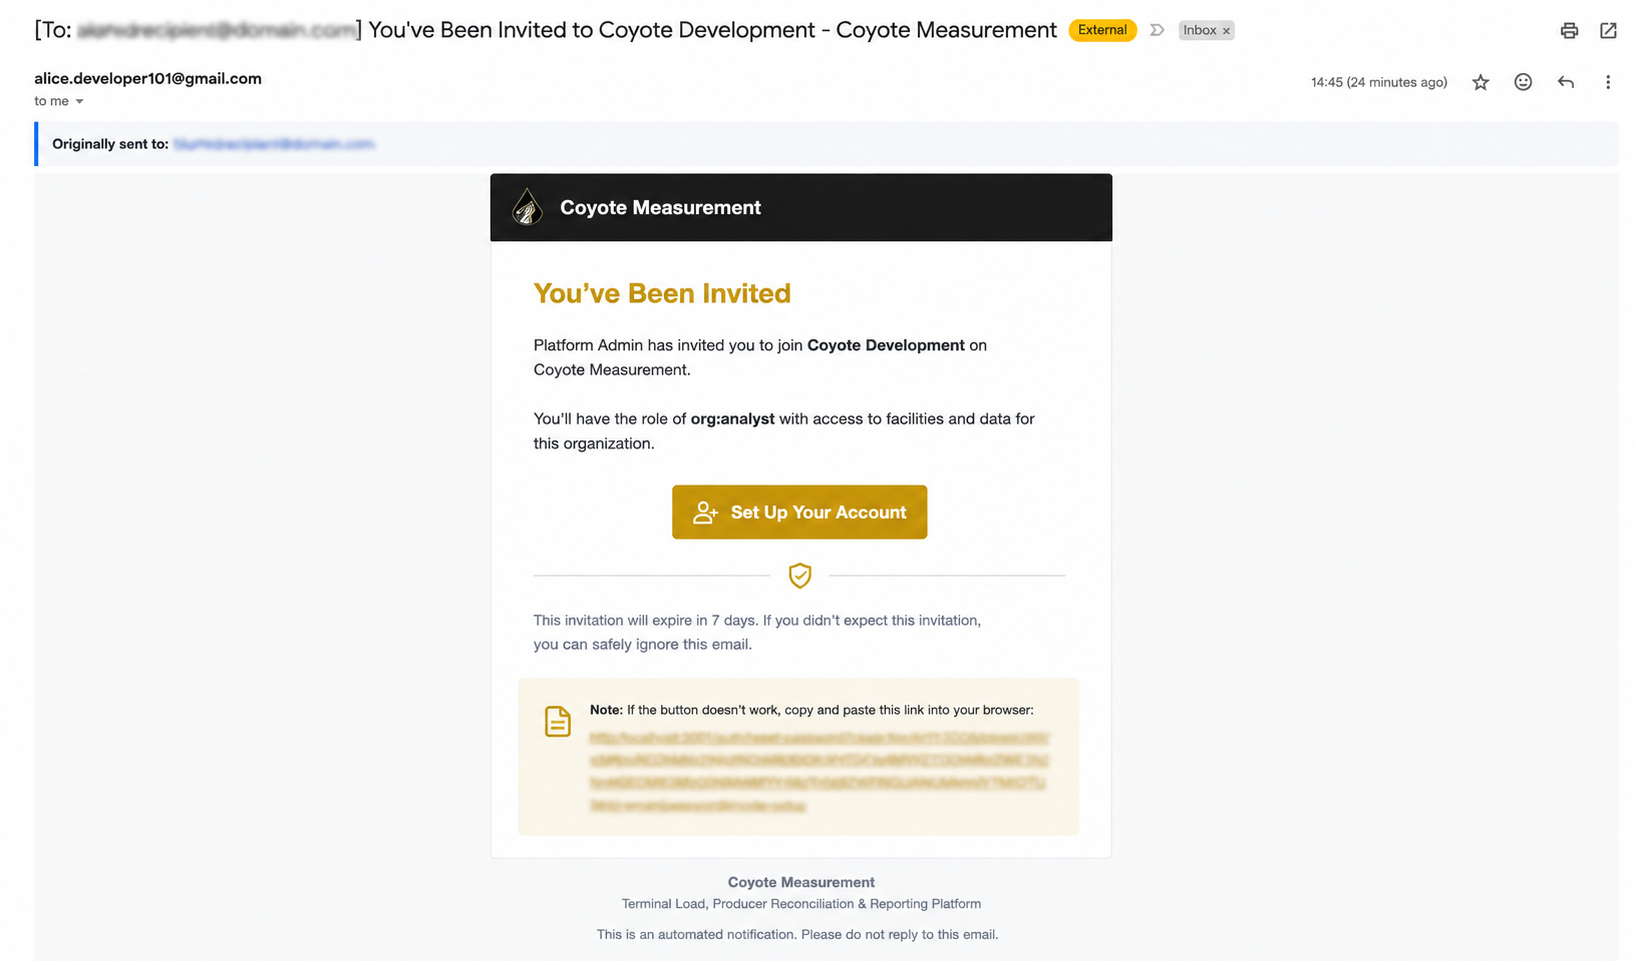
- On the Set your password screen, enter and confirm your new password.
- Click Set Password to finish activation.
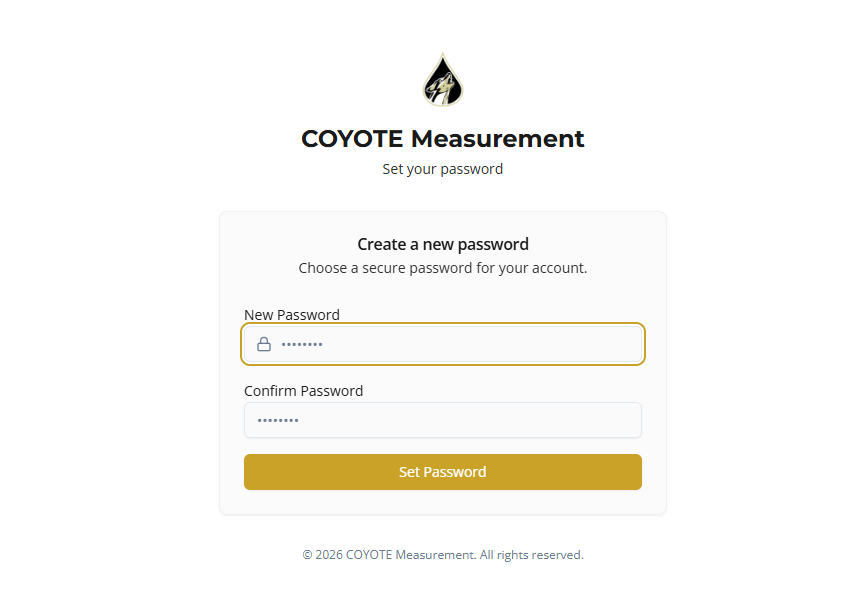
Your account status changes from Pending Invitation to Active once activation is complete.
Invitations expire after 7 days. If the link expired or does not work, contact your admin to resend the invitation. Do not create a second account with a different email unless your admin asks you to.
Step 2 — Sign in
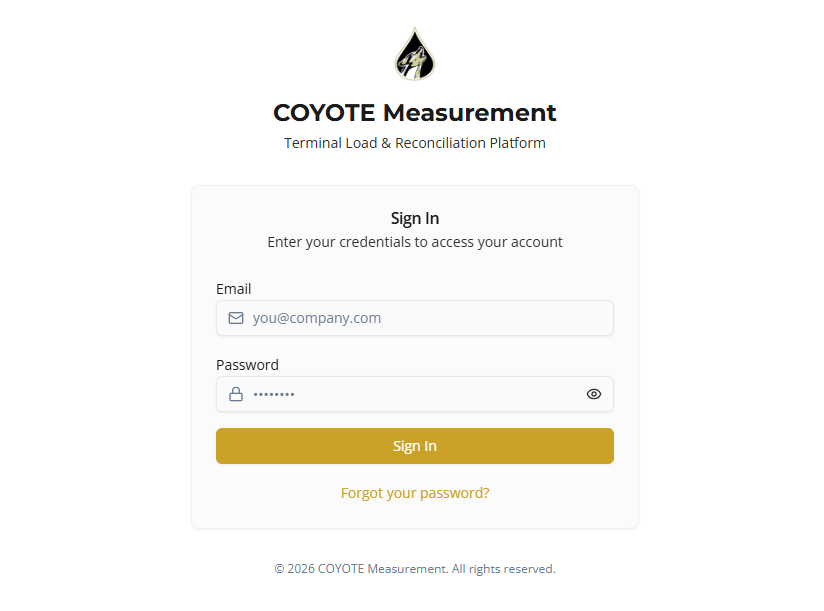
- Go to your organization’s Coyote Measurement login URL.
- Enter the email address from your invitation.
- Enter your password.
- Click Sign In.
Forgot password and reset password
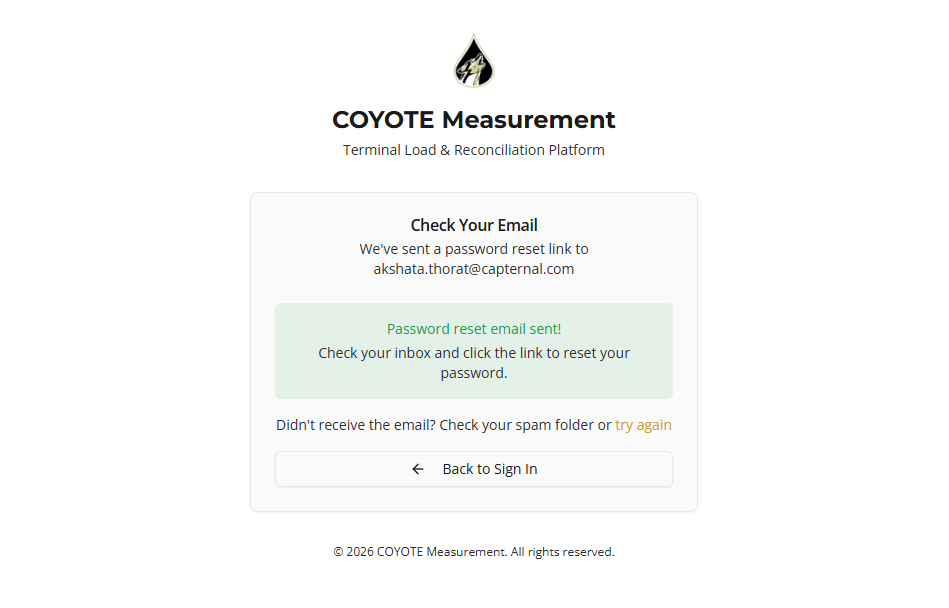
If you forget your password, you can reset it yourself from the sign-in page. An admin can also set a new password for you from your user profile.
Reset your own password
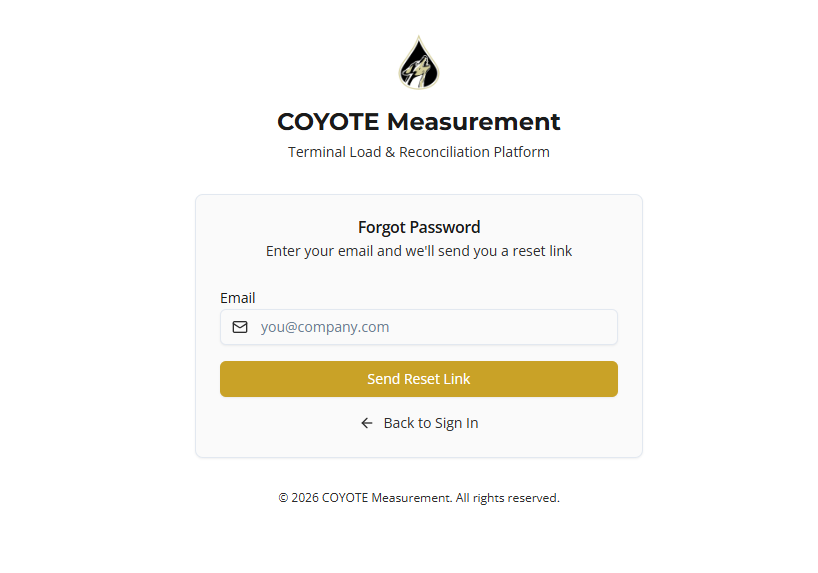
- On the Sign In page, click Forgot your password?
- Enter the email address registered to your Coyote Measurement account.
- Click Send Reset Link.
- Open the reset email and follow the link.
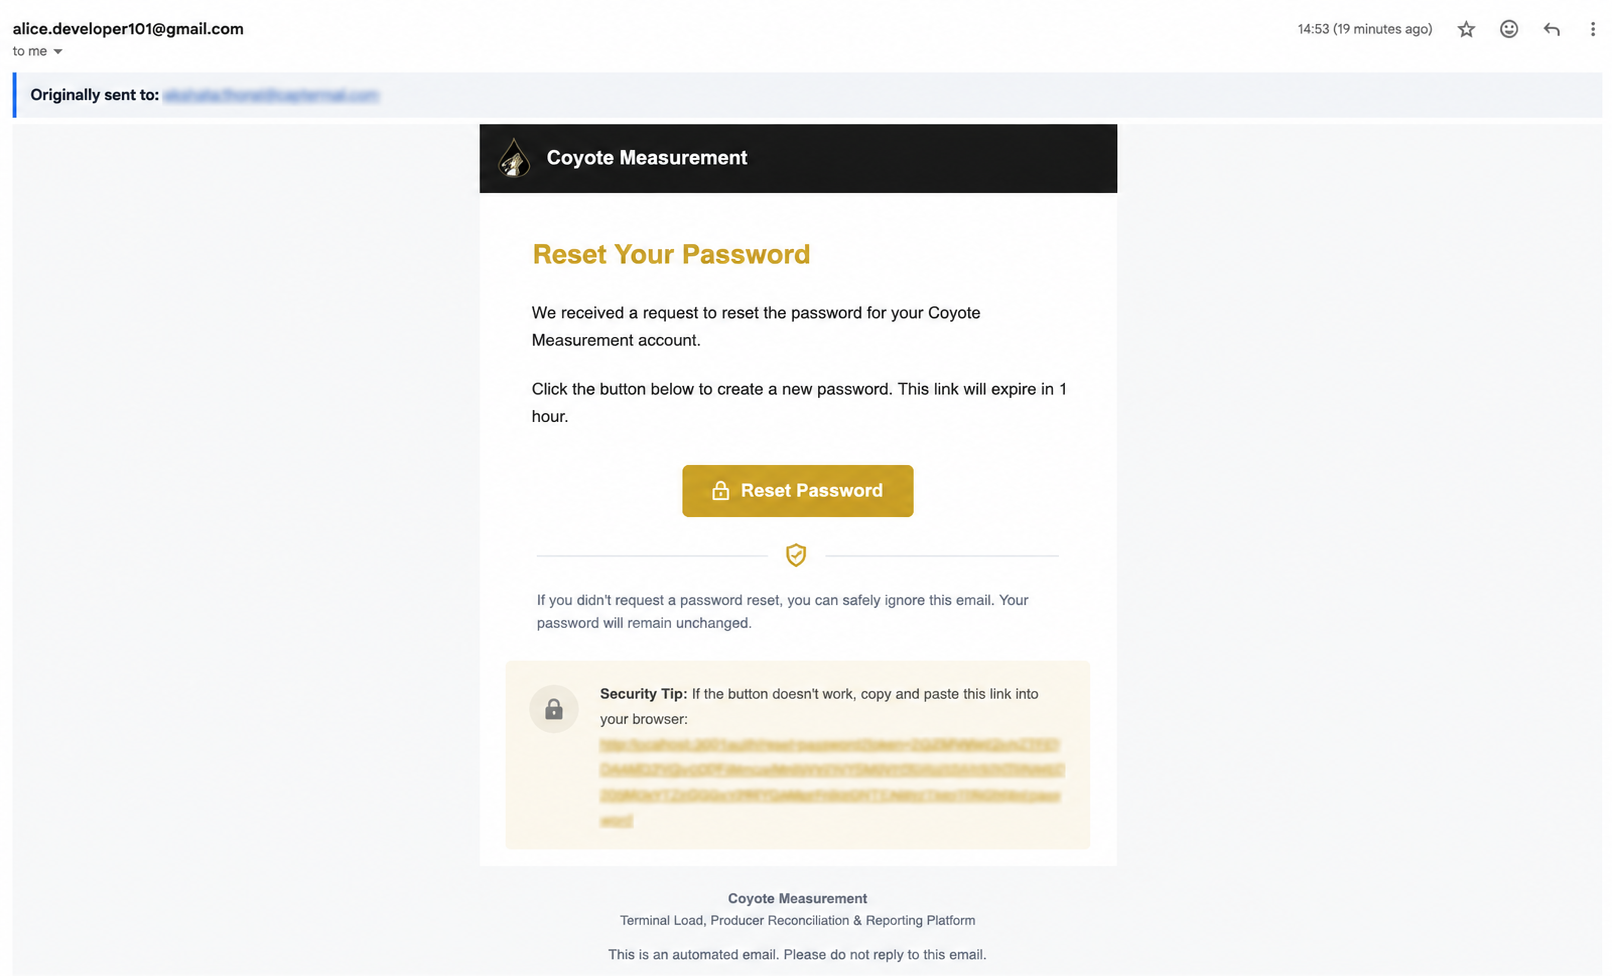
- On the Set your password screen, enter and confirm your new password, then click Set Password.
- Return to Sign In and log in with your new password.
The reset screen uses the same Set your password form as initial account setup:
If you do not receive the reset email within a few minutes, check spam/junk folders and confirm you entered the same email your admin invited. Reset links expire — request a new one from the Forgot Password page if needed.
When an admin resets your password
Ask an administrator to reset your password if you cannot access your email or the self-service reset is not working.
Step 3 — Select your organization and facility
After sign-in, confirm the app header (top bar) shows the correct context:
- Open the organization selector and choose your organization (if more than one is listed).
- Open the facility selector and choose your terminal (if more than one is listed).
Most day-to-day work — imports, transactions, loads — is scoped to the active facility. If pages look empty, you may have the wrong facility selected or your admin may not have granted facility access yet.
See Navigating the App for details on active organization and facility context.
Step 4 — Confirm your access
Verify you can reach the areas you need:
| What you need | What to check |
|---|---|
| Upload or review bay files | Imports appears in the sidebar and lists load when the correct facility is selected |
| View terminal loads | Transactions or Loads opens for your facility |
| Invite or manage organization users | Admin → Users is available for your account |
| Configure bays or facility settings | Loads → Bay Management or facility settings are visible |
If a section is missing or read-only, your role or facility access may be limited. Contact your administrator.
User statuses
| Status | What it means for you |
|---|---|
| Pending Invitation | You have not finished activation — use the email link or ask for a resend |
| Active | You can sign in and use assigned organizations and facilities |
| Inactive | Your account is disabled; contact an admin to reactivate |
Common issues
| Problem | What to try |
|---|---|
| No invitation email | Check spam/junk; confirm the email address with your admin; ask them to resend |
| Invitation link expired | Request a new invitation from your admin |
| Cannot sign in after activation | Use Forgot password and reset password or ask an admin to reset your password |
| Reset email not received | Check spam/junk; confirm the email on your account; try Send Reset Link again |
| Reset link expired | Return to Forgot your password? on the sign-in page and request a new link |
| Empty lists after login | Select the correct organization and facility in the header |
| Missing sidebar sections | Your role may not include those permissions — contact your admin |
| Organization shows as suspended | Your organization is disabled — contact your administrator |
What you handle and when to ask for help
| You (invited user) | Ask your administrator when you need help with… |
|---|---|
| Accepting the invitation and setting a password | Account activation or a new invitation |
| Selecting your organization and facility | Access to a facility or feature |
| Updating your password | A password reset when self-service recovery is unavailable |
| Reporting missing access | Account or facility access issues |
Next steps
Once your account is active and context is set:
- Navigating the App — interface tour and header selectors
- Managing Imports — if you upload or approve bay files
- Transactions & External Transactions — if you work with loads and matching
Related topics
- Welcome — documentation overview
- Navigating the App — active organization and facility
- Users & Access — invite teammates and manage organization access